|
|
Tutorial: Item Maintenance |
|
|
Tutorial: Item Maintenance |
Items are the units of stock that are sold, reordered, received and counted in the Portal Inventory package. The maintenance of items includes creating new items, editing the details of an item, updating the price of an item and importing inventory from a csv file. In this tutorial we will explore these important administrative duties.
We will be working in the Item Maintenance section of the Inventory Menu for this tutorial. You can open this section by selecting Menus, Inventory and Item Maintenance from the Navigation Menu. Two links are available in the Item Maintenance section of the Inventory Menu to allow you to review the Company Options and Site Options for Inventory in the Portal.
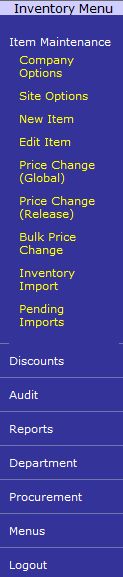
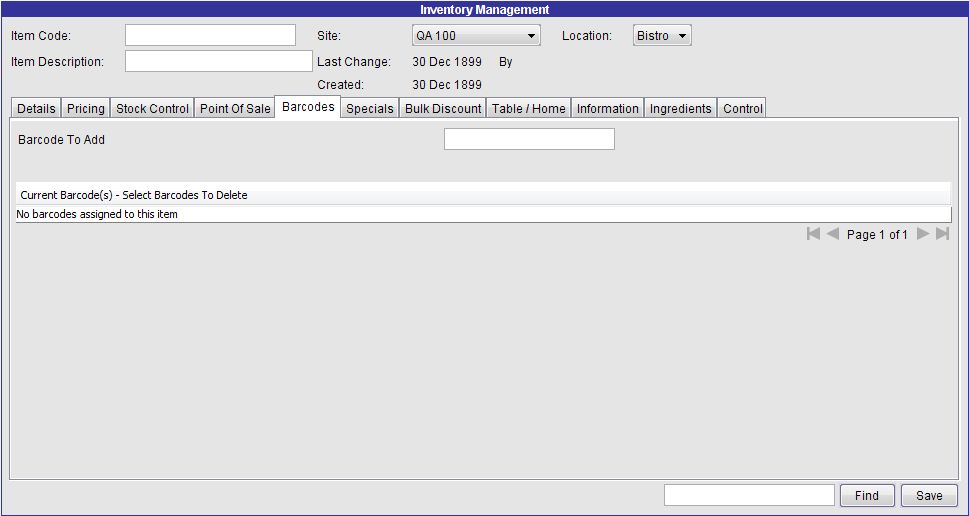
In the first part of this tutorial we will describe the process of creating a new Inventory item. Start by selecting the New Item link from the Item Maintenance section of the Inventory Menu. This opens a blank Inventory Management screen. Enter an alphanumeric Item Code for the item that will be used by the Portal to identify it (it must be unique) and an Item Description for your item that will appear in sales reports and on purchase orders. Select a Site and/or Location for your item to be added to. The Inventory Maintenance screen contains several tabs of information that must be entered in order to create a new item:
Details, allows you to enter the item's abbreviated description for displaying at the POS and descriptions for the individual item's size and ordering pack. Also, you can select a department that the item belongs to.
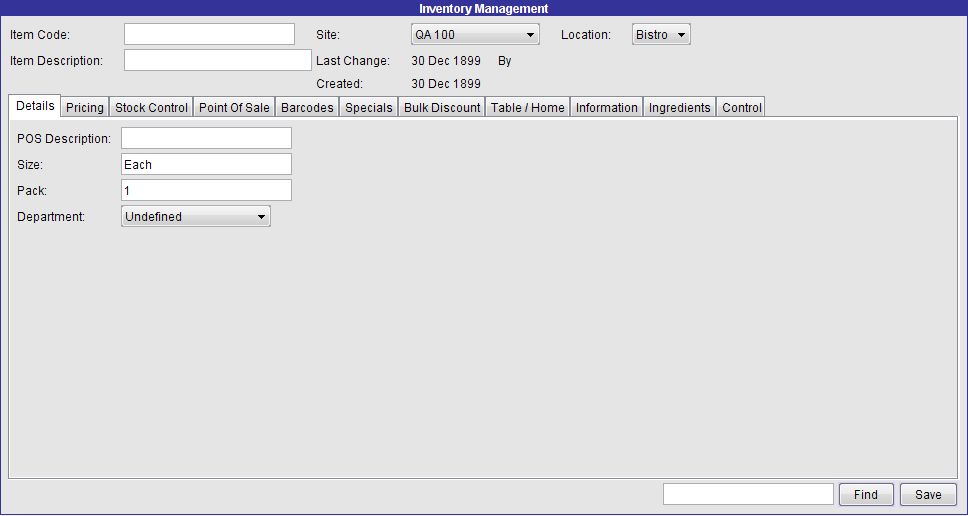
Pricing, allows you to specify the preferred margin, tax rate, cost price and retail price levels for the item. You can also record the supplier's recommended retail price (RRP) for the item. A field also exists to allow you to record the unit price of the item, that is the amount per 100g or per 100mL for example. Two buttons automate the pricing of the item according to either the preferred margin or the Department Cost Matrix or Supplier Cost Matrix for the item.
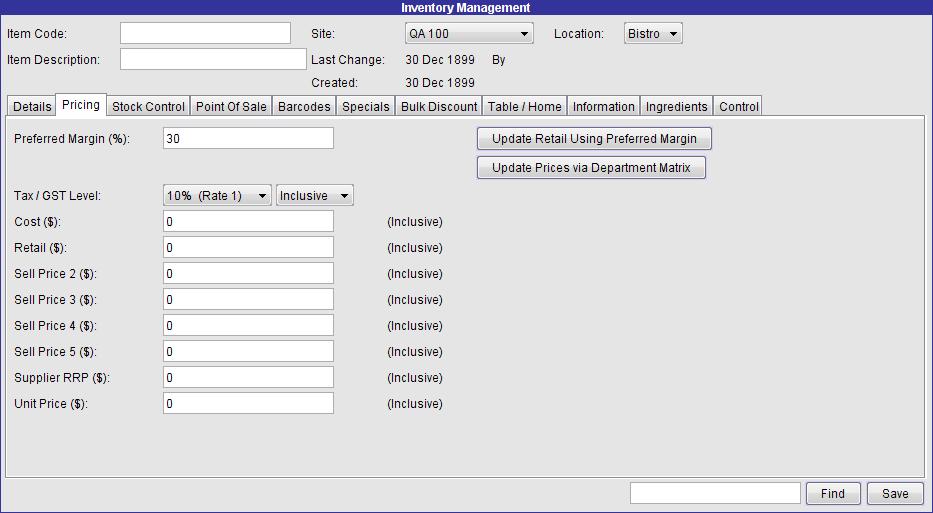
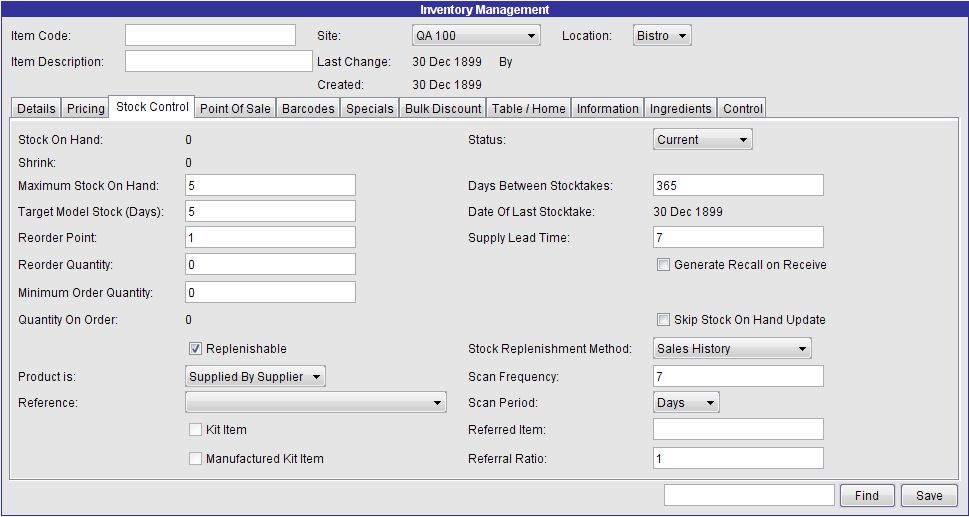
Stock Control, contains important information regarding the control of stock levels for the product. This screen allows you to set up rules for the automatic reordering of the product. The Stock Replenishment Method sets the method of reordering the product automatically:
Manual, sets the item to be ordered by manual means only and the item will not be included in any automatic purchase order generation.
Fixed (Maximum) Level, sets the item to be reordered when the Maximum Auto Create Purchase Order method is used. The quantity ordered replenishes the item to the quantity specified in the Maximum Stock On Hand field. The item will only be reordered if its Stock On Hand figure has fallen below the Reorder Point.
Fixed (Minimum) Level, sets the item to be reordered when the Minimum Auto Create Purchase Order method is used. The quantity ordered is set in the Reorder Quantity field. The item will only be reordered if its Stock On Hand figure has fallen below the Reorder Point.
Dynamic Reorder Level, sets the item to be reordered when the Dynamic Auto Create Purchase Order method is used. The quantity ordered is calculated by scanning the previous period's sales history and estimating the number required in the upcoming period. The periods are set in the Scan Frequency and Scan Period fields.
Sales History, sets the item to be reordered when the Sales Auto Create Purchase Order method is used. The quantity ordered will match the number sold in the previous period for the item.
Movement Forecasting, sets the item to be reordered when the Forecasting Auto Create Purchase Order method is used. The quantity ordered is calculated using a complex algorithm involving the number of items sold in the previous period and the Target Model Stock (Days) figure which specifies the number of days of stock to reorder.
The other fields in the Stock Control screen include the item's Status which allows you to set the status of the item to Discontinued or Purged for items that are no longer sold (a status setting of Current indicates that the item is still being sold in the Site / Location). The current Stock on Hand figures for the item are displayed, along with the Shrink value of the item which is the variance of the item's quantity at the last performed stocktake. A Minimum Order Quantity can be set and whether the item is Replenishable. Set whether the Product Is supplied by a supplier or owned by a debtor and select the supplier or debtor in the Reference drop-down list. The Number of Days Between Stocktakes for the item can be set. The Supply Lead Time field sets the default number of days for the delivery of stock from the supplier in a Purchase Order. You can set whether the item is a Kit Item meaning that it is made up of other items in the Portal. If an item is a Manufactured Kit Item then its stock levels are affected differently. The Referred Item field is used to link the item to another so that its Stock on Hand figure is reduced by the sale of this item. Most commonly this is used to sell a single item when packs of the item are also sold. The Referral Ratio is used to calculate the amount to be decremented in the referred item. The number entered here represents the number of this item that is contained in the referred item. For example, if a single item is also sold in packs of six, the single item should have a referred item of the pack and the number 6 in the Referral Ratio setting.
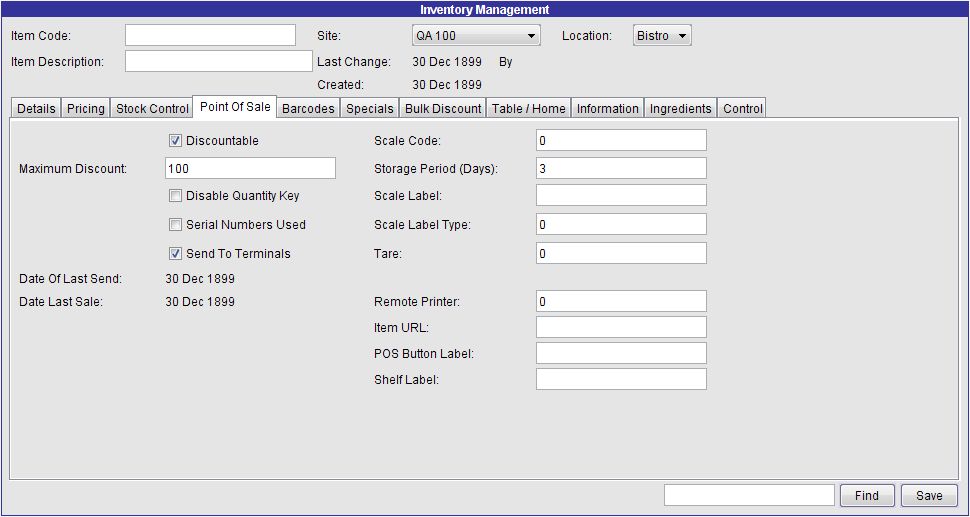
Point of Sale, sets details for the item for the POS, including whether the item is able to be discounted and the maximum allowed percentage discount. You can also set the quantity key to be disabled for the item, so only one is sold at a time. Set whether the serial numbers of the item are used at the POS and whether the details of this item are updated at the terminals (or stored at the Portal only). The Scale Code field represents the code used by the scales for a weighed item (zero represents a non-weighed item) and the number of days to be stored can also be entered. The Tare field is used to adjust the tare of a scale when weighing the item, allowing you to make adjustments for containers. The Item URL is used in interactive advertising when the item is sold and the Remote Printer field is the printer number when the printer is remote (for stock picking purposes for example) and is numbered from 0 through 5. The Label fields can be used to alter the description of the item for the POS button, shelf ticket or label printed by the scale.
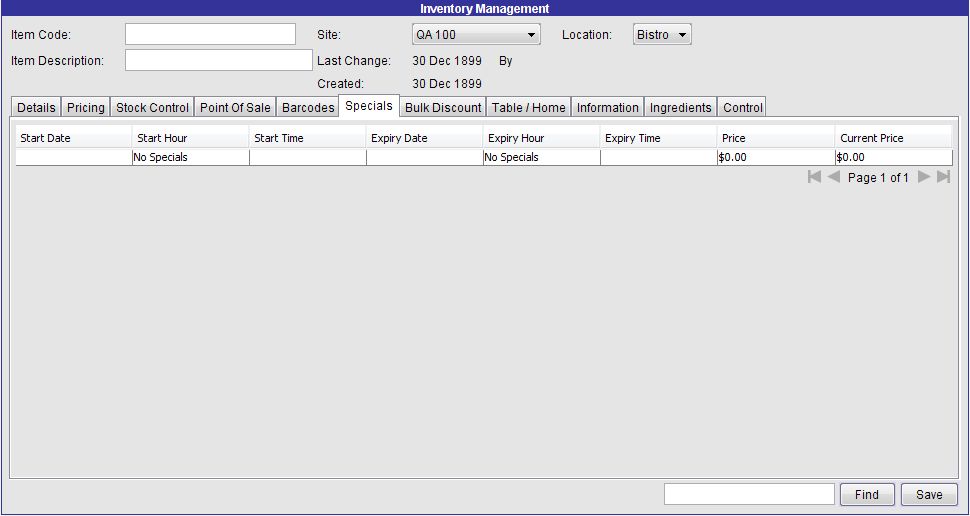
Specials, allows you to create promotional specials for the item. Enter a start date, hour and minutes and an expiry date, hour and minutes and set the special price for the item in the Price column. The Current Price column lists the regular price for the item.
Bulk Discount, creates rules for bulk discounting of the item. This allows you to create discounting based upon a minimum quantity of the item being purchased in one transaction. Enter a reference number, minimum quantity and either a percentage discount or the discount price for the quantity purchased. An expiry date for the bulk discount can optionally be entered. The Current Price column lists the item's current price.
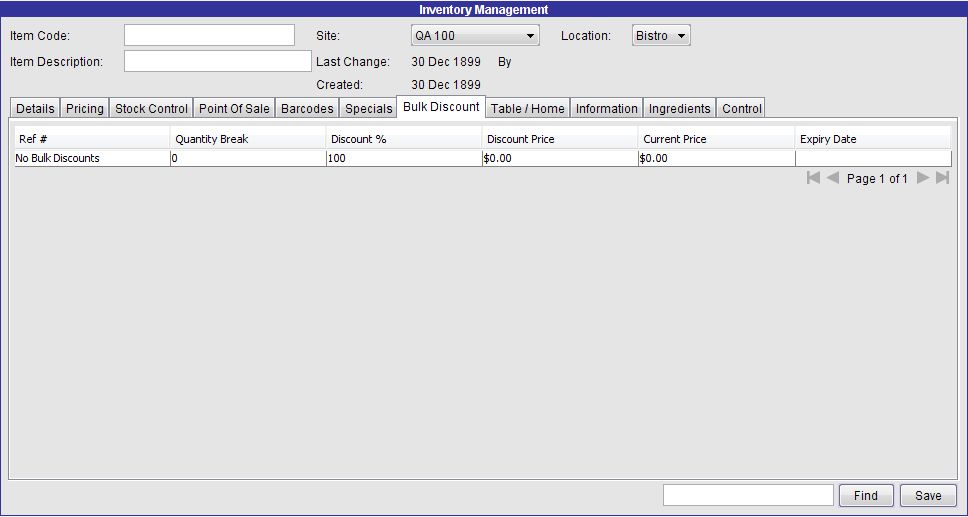
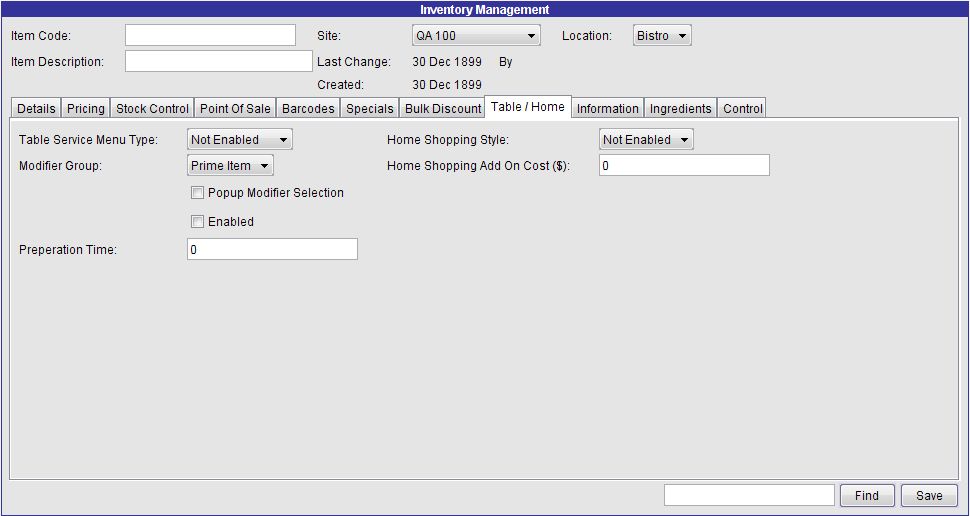
Table / Home, sets details for where the item will be displayed in the table service menu and the modifier details for the item. It is possible to set a Preparation Time for the item. This screen also allows you to set Home Delivery settings for the item.
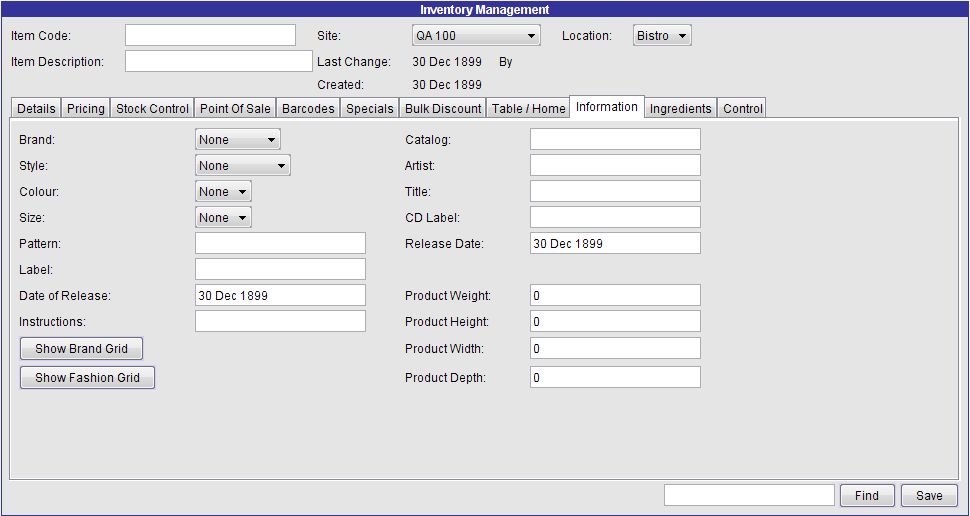
Information, allows you to set the Brand and Fashion Details for the item and miscellaneous Instructions. Also provided are fields to allow you to record the product's dimensions and weight. If Artist Information has been enabled in the Company Options then the information can be recorded in this tab.
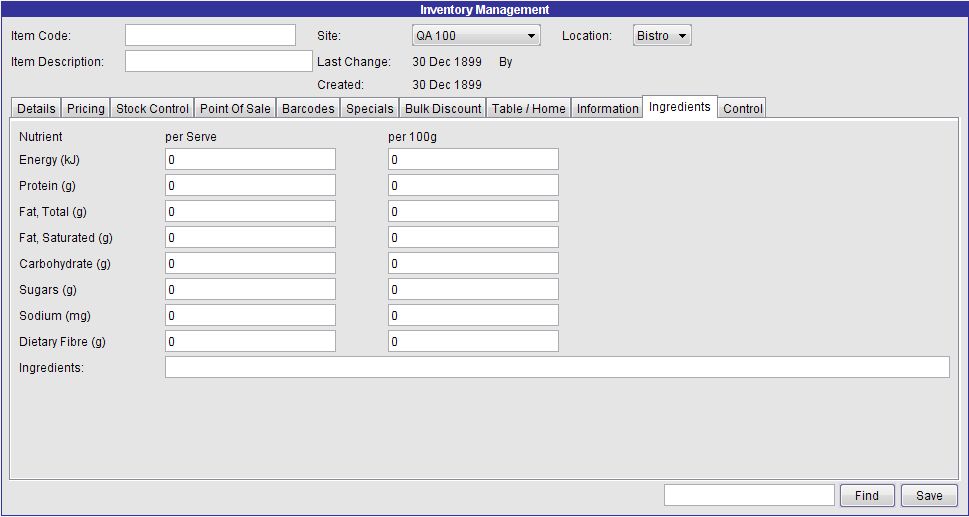
Ingredients, allows you to record the nutritional information of the product. Fields exist to record the Energy (kJ), Protein (g), Fat, Total (g), Fat, Saturated (g), Carbohydrate (g), Sugars (g), Sodium (mg) and Dietary Fibre (g) on a per Serve and per 100g basis. The Ingredients field is a miscellaneous field which allows you to record warnings for the product, such as "Citric Acid (330)", or "Contains Nuts", for example.
Control, provides mechanisms to copy an item to another Site, rename the item, add supplier codes, cost changes report, kit maintenance, shelf labels, reload the item from the database, delete the item and show barcode tracking for the item. Note that for new items this screen will be blank because these features only exist for existing items.

When you have entered all of the details for your item, press the Save button to save the item to the Portal. The provided text box can be used to search for an item to edit from the Inventory Management screen - press the Find button to search for the entered Item Code.
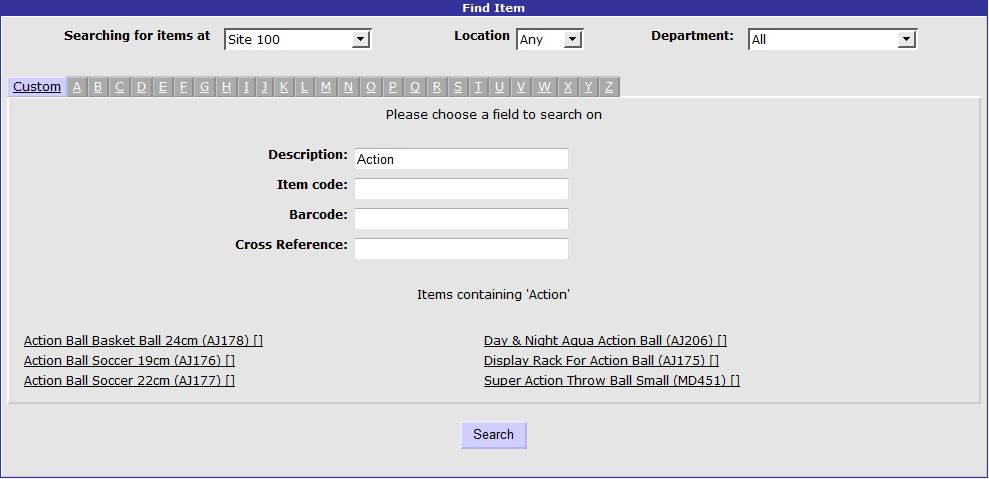
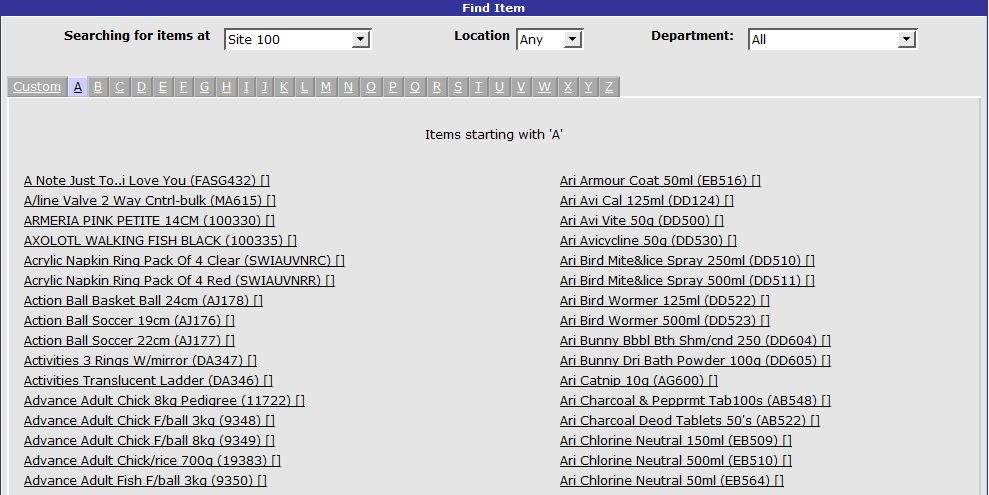
Items can also be edited by selecting the Edit Item link in the Inventory Menu. This opens the Find Item screen which allows you to search the Portal's Inventory for an item to edit. Select a Site, Location and Department to search and choose either the Custom tab to search for items by Description, Item Code, Barcode or Cross Reference or a tab corresponding to a letter to search all items beginning with that letter.
Selecting an item to edit opens the Inventory Management screen with the details of the item loaded. Edit the item and save the changes by pressing the Save button.
The Portal provides two methods of affecting price changes. It is possible to set a new price for items one at a time with a Global Price Change, or perform a Bulk Price Change to change the prices of items based upon their department, brand, supplier, style, size or colour. Price changes can affect the cost or retail price of items. In this section of the tutorial we will discuss how to perform both types of price changes for items in the Portal.
Select the Price Change (Global) link from the Item Maintenance section of the Inventory Menu. This opens the Find Item screen, allowing you to search for the item that the price change will affect. Select the item and the Global Price Change Editor is opened with the details of the item loaded. The Site, Item Code and Description are displayed at the top of the screen. Specify a Release Date for the price change to take effect on (retail price change only). You can edit either the RRP (Inc) or the Cost fields in the grid in order to affect a price change on the retail or cost price respectively. The Reset button can be pressed to revert the changes to the cost and retail prices before they are saved. Press the Commit Changes button to save the price change to the Portal. The Synchronise buttons are used to copy the RRP, Cost and/or Description fields from a selected line to all other lines in the screen (for items in more than one location).
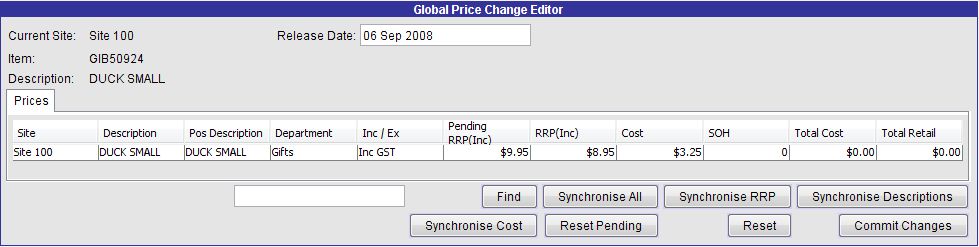
After you have saved your changes, the new retail price is displayed in the Pending RRP (Inc) column for the item. This can be reset by pressing the Reset Pending button before the release date. There is a Find button that allows you to search for items in the Global Price Change Editor screen without returning to the Find Item screen.
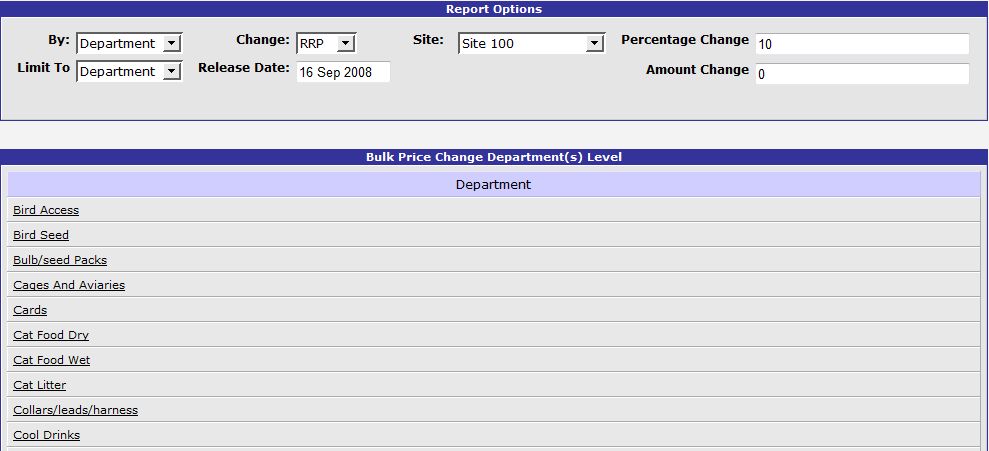
It is also possible to perform a bulk price change in the Portal for groups of items at a time. Select the Bulk Price Change link from the Item Maintenance section of the Inventory Menu. The Bulk Price Change feature can be used to change prices for all items in a Department, Brand, Supplier, Style, Size or Colour. It can also be used to change the price of all items at once by selecting Department from the By drop-down but None from the Limit To drop-down list. Use the Change drop-down to choose to change the retail or cost price and enter the Release Date for the change to take effect. Select a Site and enter the Percentage Change figure to change the prices by a percentage or an Amount Change figure to change the prices by a fixed amount.
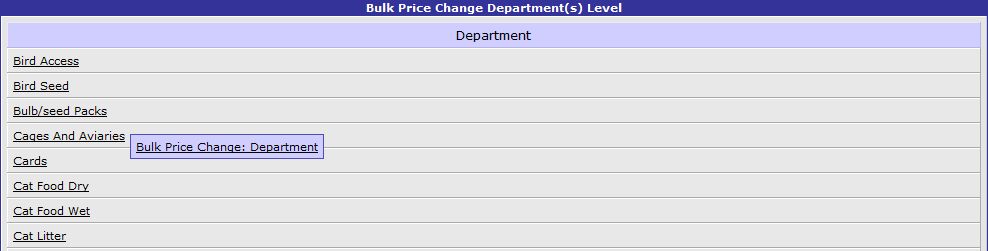
When all of the settings have been entered, the list of groups will change to links. Select the group to change the prices for and a popup menu appears asking you to confirm the selection.
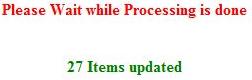
After you have confirmed the selection of the group, the price change is processed. A message appears confirming the number of items that have been updated and you are redirected back to the Bulk Price Change screen.
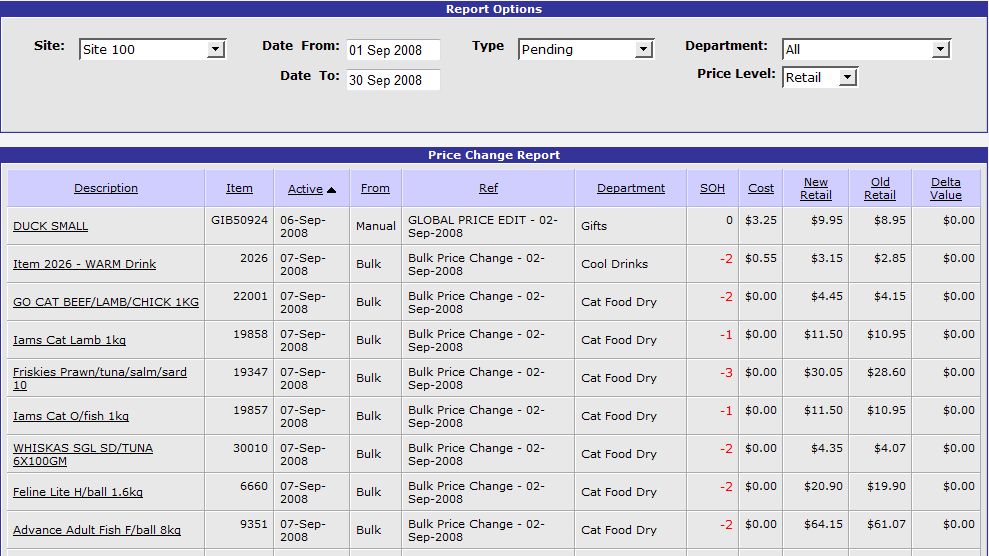
The Portal provides a report to display the price changes that have been entered. It can be accessed by selecting the Price Change (Release) link from the Item Maintenance section of the Inventory Menu. This report lists items at the selected Site with a price change in the date range according to the status of the change. The report can be filtered by department and price level and lists the following details for each item: Description, Item Code, Active Date, Manual/Bulk Update, Price Change Reference Number in the Portal, Department, Stock on Hand, Cost, New Retail Price, Old Retail Price and the Delta Value which is calculated as the difference between New Retail and Old Retail multiplied by the Stock on Hand or zero (whichever is greater). Depending on the Type selected, further information may appear in the report detailing whether the price change has been processed and when it was processed.
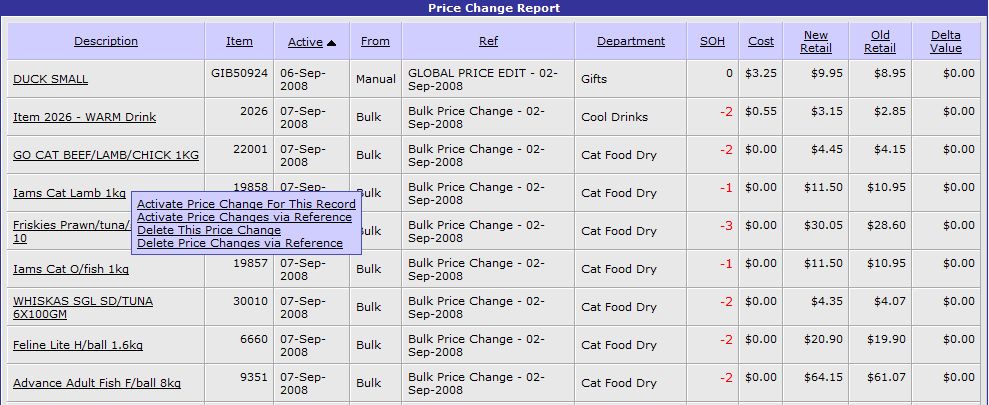
By selecting an item from this report, a popup menu appears allowing you to perform the following tasks:
Activate Price Change For This Record, updates the item's pricing details immediately rather than waiting for the release date.
Activate Price Changes via Reference, updates all items' pricing details with the same reference number immediately rather than waiting for the release date. Items that have created a price change on the same day will have the same reference number, as will all items that have performed a manual price change on the same day.
Delete This Price Change, removes the item's price change details from the Portal. The price change will not take effect.
Delete Price Changes via Reference, removes all items' price change details with the same reference number from the Portal without the changes taking effect. Items that have created a price change on the same day will have the same reference number, as will all items that have performed a manual price change on the same day.
Part Three: Importing Inventory Items
The Portal provides a simple mechanism to upload a list of inventory items to the Portal from a file in CSV format. This import can be used to copy inventory items and prices from an existing Site when creating a new Site in the Portal or to update an existing Site's inventory when many new items are being added to the Portal, for example.
Open the Online Item Upload / Price Change screen by selecting the Inventory Import link from the Item Maintenance section of the Inventory Menu. Select the Site to upload items for and enter the path of the CSV file in the provided field. If you do not know the full address of the file, use the Browse button to search for the file in an explorer-style window. Press the Update button to upload the file to the Portal and a confirmation message appears describing the success of the process.

In this tutorial we have discussed the administration of inventory items in the Portal. We have outlined how to create new items and edit existing ones, how to perform single and bulk price changes in the Portal and how to upload an Inventory list in CSV format to the Portal.